It’s no secret that living in the digital age photos are apart of our daily, if not hourly lives. A recent study showed that every day, we’re uploading over 200 million photos to Facebook…I’m sorry, what?! So it’s safe to say we could all use 5 Tips to Take Better iPhone Photos! Keep reading to become the expert in your friends group…

After years with an iPhone and professional training on a DSLR (that’s a big fancy camera for those who are here solely on personal photo mission 😉) I’ve finally narrowed down my favorite apps and fun tricks to make my iPhone photos from travel or just everyday life printable and worth putting in photo albums!
It’s not always convenient to travel around with a big, bulky camera on my hip. It’s also not the least bit casual in crowds and it’s a lot of pressure to ask someone, “would you mind snapping a quick pic?!” with a giant camera. SO, suffice to say, I’ve learned the best parts of my everyday camera and I’m making it work!
1. Clean Your Camera Lens
This may seem silly, unnecessary, or life changing…BUT I’m here to tell you IT WILL MAKE A HUGE DIFFERENCE IN YOUR PHOTOS. I simply give my lens a quick wipe with my shirt before snapping a pic OR handing it off to a stranger. This takes away the daily smudge/oils our hands have put all over our little pocket camera! You’re already on your way to better photos y’all, but if you want to be EVEN GREATER keep on reading!
2. FOCUS
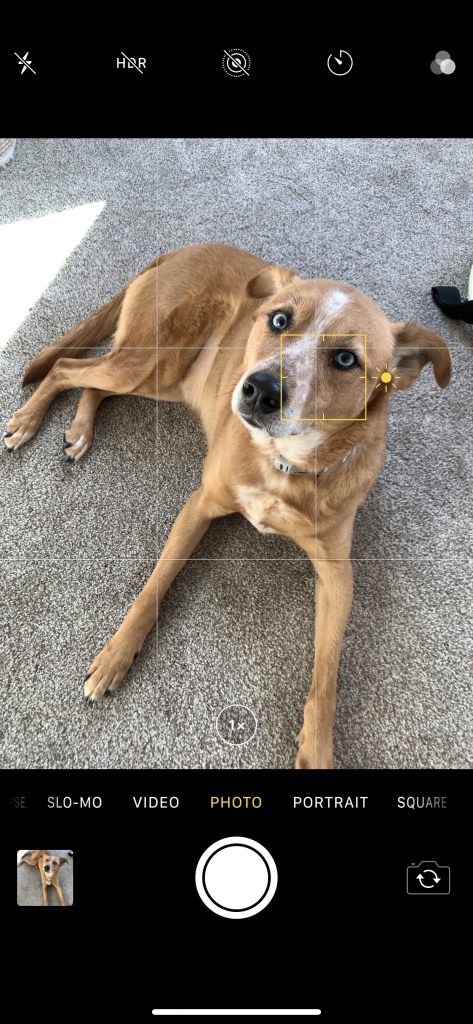
No really…select the MAIN subject in the picture! With your camera open, simply tap any area of the photo to put it into focus; the main area you want to be clear in your photo. You can see below when I tap the screen on Zoe Belle’s face, she came into perfect focus and now the photo is sure to be clear! If you’re taking a photo with multiple people the best area to select focus on will be the person in the middle, so everything will be central.

3. Find the Best Lighting
It’s a simple task…if the light isn’t great where you are, walk a few steps and it will be completely different in another area! If you’re indoors, standing FACING the window (letting the window light shine on you, NOT with it shining behind you) this is the most flattering light. If you’re outdoors, try avoiding facing the sun directly – this will remove squinting in your photo. Try to stand with the sun to the side of you if possible. The best option would be to find open shade, somewhere beneath a tree or the side of a building! For example, in the photo below I made sure to use this giant rock on the beach to block the direct sun (found open shade), keeping the sun behind my friend Jen (how cute is she on the Malibu beach?!) and the result is almost as if I had my big girl camera with me!

4. Say NO to Zoom
The zoom feature on your phone is like a death trap for photos. Read that again and let it sink in, friend. The further you zoom, the more you kill your quality. I know it seems like it makes sense to zoom in when you’re far away, but you’re going to make that photo SO fuzzy and next to unusable. Great, another fuzzy photo taking up storage in your phone. INSTEAD, try moving closer to your subject OR simply take it from where you are and then crop the photo in later. This will leave you with better quality photos, thus more use for your photos!
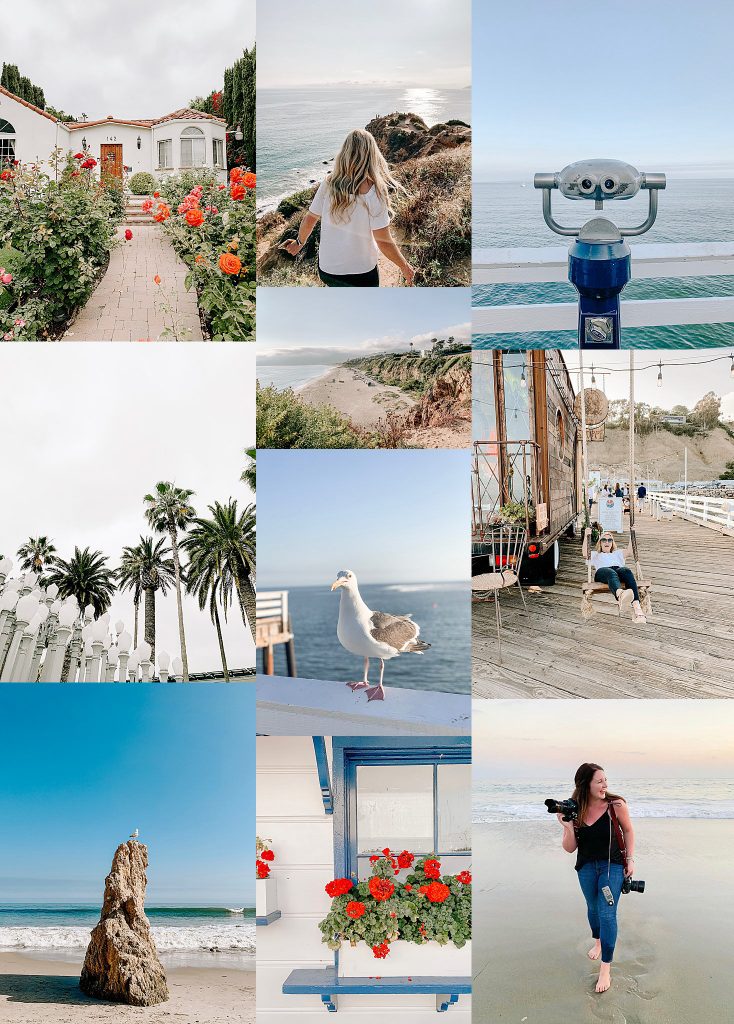
 *all photographed on iPhone
5. Center Up Buttercup – Turn On Grids
You may or may not know this, but the ability to be the professional iPhone photographer is closer in your hands than you know 😉 In the cute photo of my dog Zoe a couple photos back, you may have noticed there were also grids lining the camera…this is a great feature built into your phone that you can start using to make sure you’re centered (or you could get artsy and use the Rule of Thirds) every time in your photos! Here’s how to turn on this feature in your phone:
SETTINGS > CAMREA > GRID *swipe on*
BAM! Now open up your camera app again and center up, buttercup! We’re on our way to being #nextlevelpros 😆
BONUS: My Favorite (and only) Editing Apps
1. Lightroom Mobile
Lightroom can appear intimidating at first, but I encourage you to play around with it or even watch a couple tutorial videos to make yourself more familiar and comfortable with the app. It has AMAZING features to enhance your photos (and the quality!) OR if you’d like the simple route, you can purchase presets (a fancy photo word for edits already created to simply paste onto your image – removes the work for you, but still gives you all the beauty!) A few of my favorite presets I’ve purchased and use are: Wilde Presets, Julie Paisley, & Chalk Full of Love. These presets range from $5-$50 so there’s something for every budget!
2. VSCO
I’ve used this app for Y E A R S! Aside from running my photography business, I also manage a few companies’ social media accounts. This app allows me to keep brand consistency, favorite my settings and reuse them over and over! *Lightroom does this also, but I would say VSCO is a little more basic/user friendly if you’re unfamiliar with photo editing at all*. Some of my favorite edits are: E1, Q5, & A6.

*all photographed on iPhone
I hope this post encourages you that you DON’T have to be a professional to have beautiful images from your every day life! The key is consistency here…so if you consistently put these 5 tips to taking better iPhone photos into practice YOUR PHOTOS WILL IMPROVE! If you use any of these tips, feel free to tag me online – I’d love to see your photos & encourage you along the way 🎉
Are there more practical things you’d like to know on your iPhone camera or even DSLR? You’ll never know if you never ask, so leave your question in the comments below! I’d love to cover more photo tips for you all!
xo
Holly